My Battle Against Gortash in Baldur's Gate 3
Discover strategic insights and expert tips for conquering Baldur's Gate 3's Enver Gortash, highlighting the latest patch updates and essential prep for victory.
As a seasoned adventurer in Baldur's Gate 3, I still remember the thrill and tension of facing Enver Gortash in Act 3. It was late 2025, and after weeks of buildup, I stood before Wyrm's Rock Fortress, knowing this tyrant had to fall. His smooth talk and steel-clad fist had held the city hostage for too long, but I was ready to end his reign. Little did I know how tricky this fight would be—especially with the latest patches tweaking the game's mechanics. Honestly, part of me wondered: is he really as fearsome as he makes out? Or is it all just bluster? The answer unfolded in a chaotic dance of strategy and missteps that still haunts my gaming memories.
First, the approach to Wyrm's Rock Fortress was a nightmare in itself. I'd heard horror stories from other players about charging in head-on, so I took a deep breath and planned my assault. You see, the key is to set yourself up properly before storming the place. If you rush in like I almost did, you'll face an army of Steel Watchers and risk losing allies like Duke Ravengard forever. Instead, I followed the wisdom of completing a few quests first:
-
Agree not to kill Gortash during his coronation—this buys time.
-
Finish the 'Iron Throne' mission to save innocents trapped below.
-
Disable the Steel Watch in a separate quest; otherwise, those automatons will swarm you.
Why bother with all this prep? Because without it, the fortress becomes a slaughterhouse. I learned the hard way when I ignored this advice on my first attempt—citizens died, and the fight spiraled out of control. From the Lower City's Basilisk Gate, I crept forward, spotting numerous Flaming Fist guards.  They were clustered in groups, so I triggered them slowly: four at the front door, then another four in the hallway. But then, the Audience Chamber loomed ahead. I almost walked straight in—what a rookie mistake! That room is packed with grenade traps and flaming incinerators that explode unpredictably. Why would anyone risk that? There are also six high-level spellcasters ready to fry you. To preserve my sanity and spells, I had to find a back way.
With Patch 5 changing things, you can't just jump from the south drawbridge anymore. So, here's what I did: I entered the room near the Audience Chamber entrance but didn't go in. Instead, I went left, found a lever hidden behind a box, and circled the fortress. Jumping along ledges and under the bridge, I climbed vines and a ladder to a locked door. 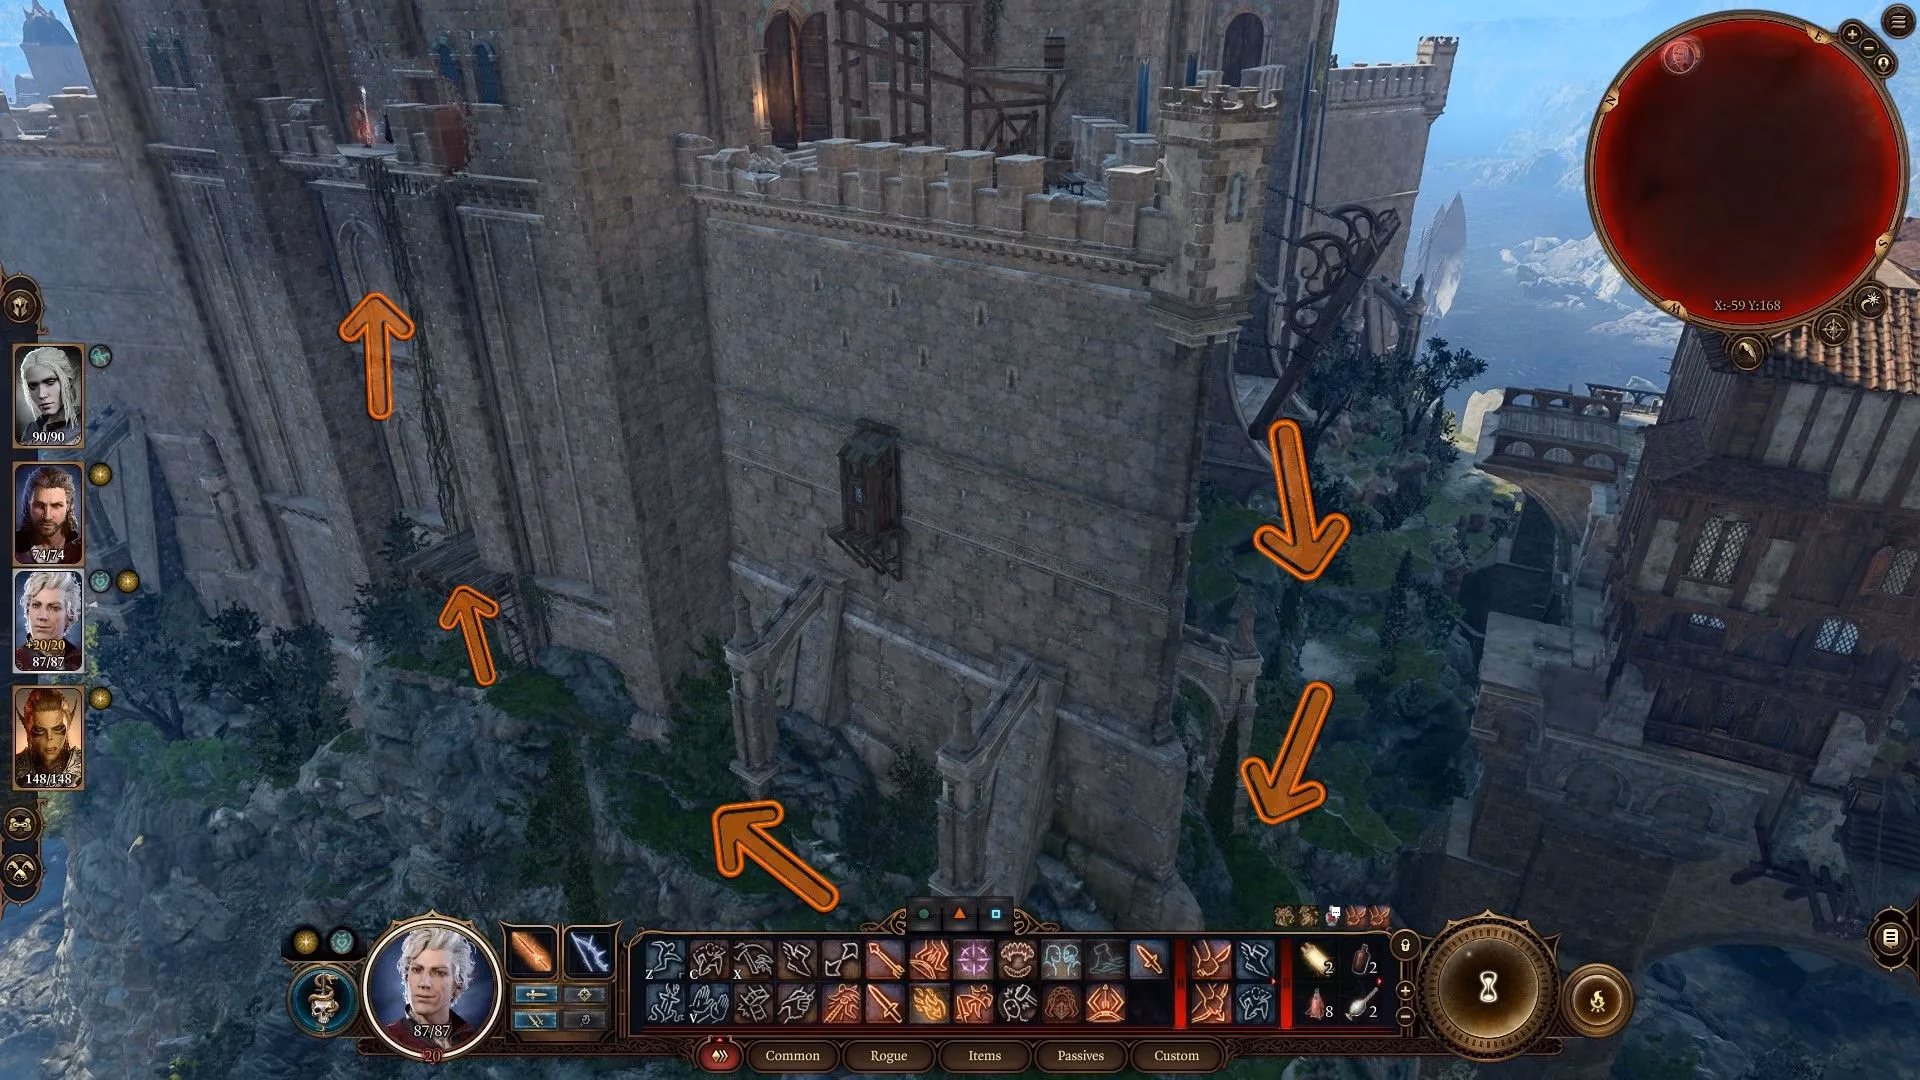 After lockpicking it (DC 20—thank goodness for my rogue), I slipped into the back of the chamber. Stealth was crucial; if discovered, I'd have been toast. My goal? Reach the roof through a series of doors: first left, then another left. Up there, I avoided the central doors and headed to a small room with a ladder. Jumping to a ledge and maneuvering to an attic, I found a bell and a lever in the corner. Flipping it dropped a ladder right into Gortash's lair. Phew!
Now, for the Fancy Footwork achievement. This one's all about finesse. With the ladder down, I prepared for the ultimate sneak attack. You'll need:
-
🪄 Greater Invisibility (a scroll or spell—essential for staying hidden).
-
A high-Dexterity character proficient in Stealth.
-
A way to destroy traps, especially those on the back wall curtains.
Those traps are sturdy but weak to Bludgeoning and Lightning. My top picks? Chain Lightning or Smokepowder Bombs. Why? Because Chain Lightning can wipe out all the curtain traps in one go—they're the priority. 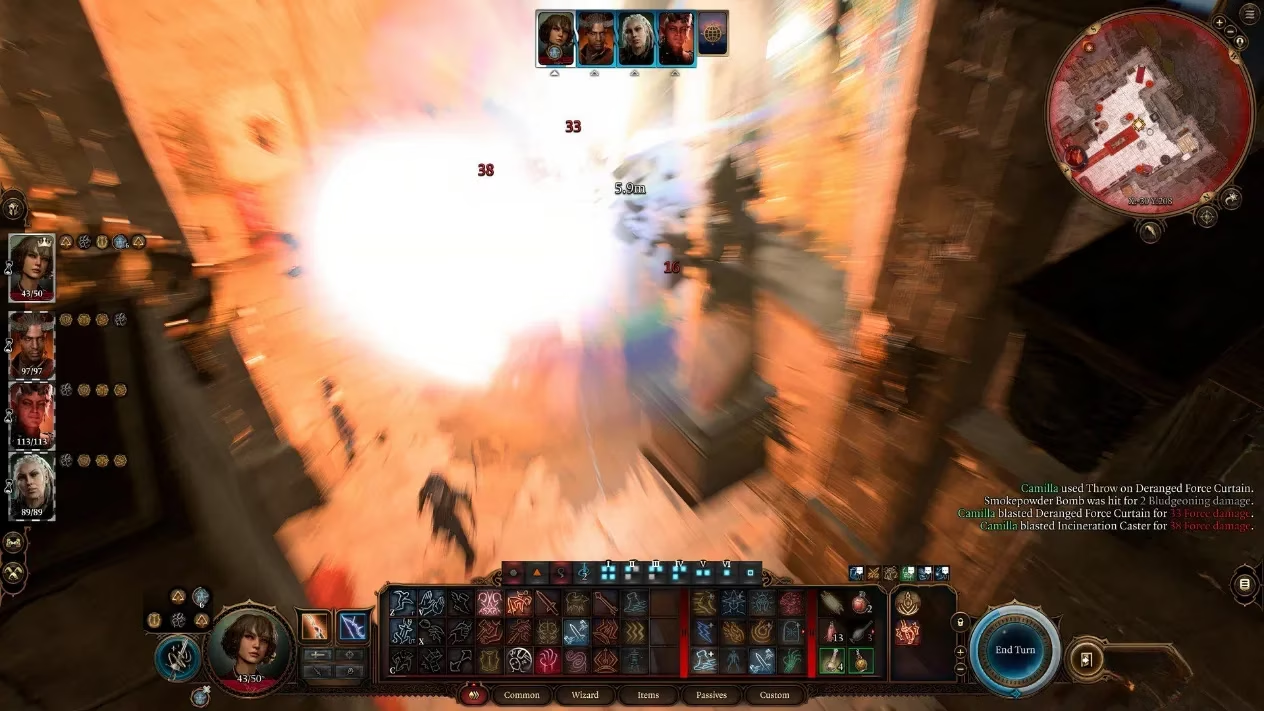 I used Smokepowder Bombs for precision, throwing one at each curtain. With Greater Invisibility, I managed two throws before fading. Then, I signaled my party to sneak in along the red carpet, crouching low. We cleared the remaining traps efficiently. Without this setup, the room would have been a death trap. But is it worth the effort? Absolutely—it turns the tide.
Finally, the showdown with Gortash. Honestly, he's easier than Orin if you've disabled his Steel Watchers. After facing beasts like Raphael or Ansur, Gortash felt underwhelming—but don't underestimate his allies. 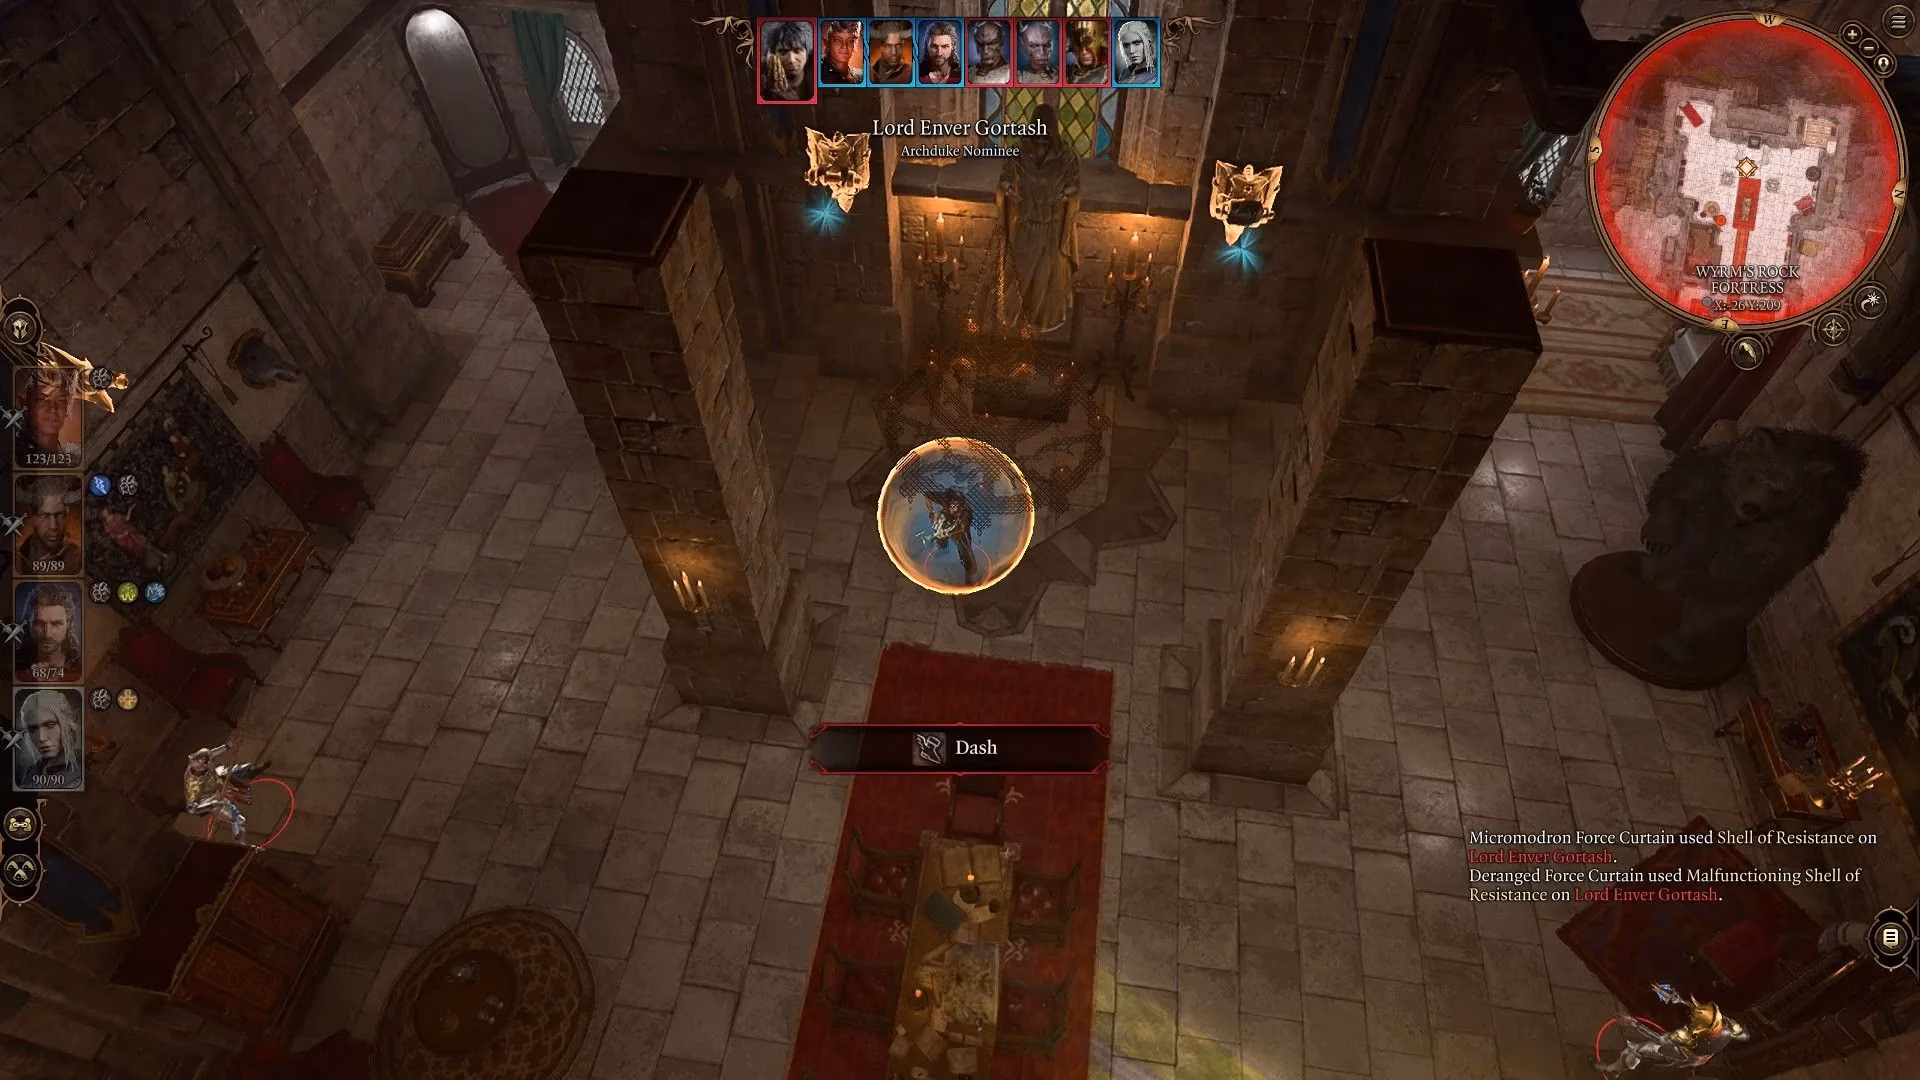 His danger comes from overwhelming numbers: three Black Fist enemies who rely on sight. So, I used area-denial spells like Darkness, Fog Cloud, or Hunger of Hadar to blind them. For the fight, I split my party:
-
Two characters handled the Black Fists.
-
One ranged caster supported from afar.
-
One tank distracted Gortash.
Halfway through, Gortash uses 'Invoke the Black Hand,' summoning Manifestations of Tyranny. These buff him with +1 Strength in recent patches (or fire damage in older ones). 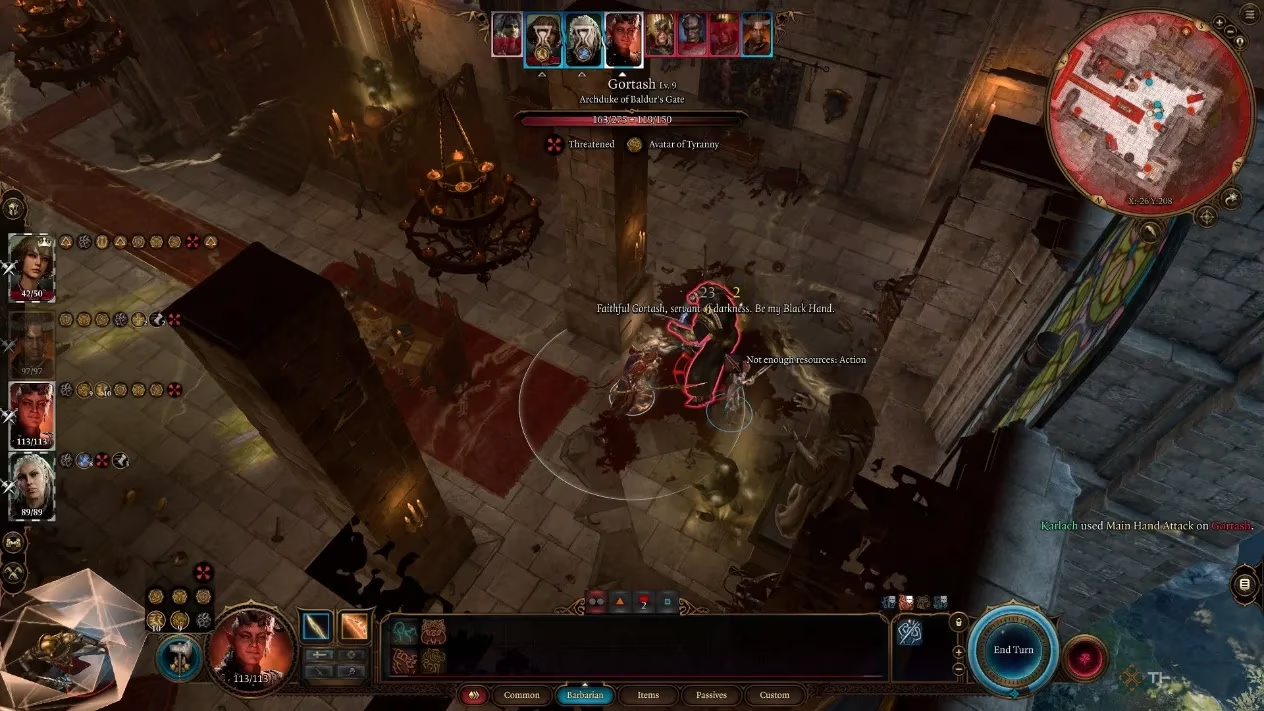 To counter, I kept him centered or killed nearby manifestations. Then, he gains 150 temp HP and special attacks like Closed Fist of Bane. This is when I unleashed everything—spread out to avoid multi-hit spells and used healing to survive. A high-DC caster can land Hold Person or Polymorph for critical hits. After a frantic brawl, Gortash fell, and the loot was glorious:
| Item | Description |
|---|---|
| Fabricated Arbalest | Very rare heavy crossbow. +2 Enchantment. Deals 1d10+2 Piercing +1d6 Fire. |
| Cloth of Authority | Rare clothing. +1 AC, immune to Frightened, advantage on Insight/Intimidation. |
| Tyrannical Jackboots | Uncommon boots. +1 to Charisma Checks/Saves. |
| Netherstone Gauntlet | Very rare gauntlet. Grants +1 Spell Save DC, extra Force damage, and Command spell. |
With the Netherstone in hand, I felt one step closer to stopping the Elder Brain. But here's the thing: in a game full of epic battles, why does Gortash's downfall leave me questioning if power is always worth the cost? What choices have you made in your quests that changed everything?